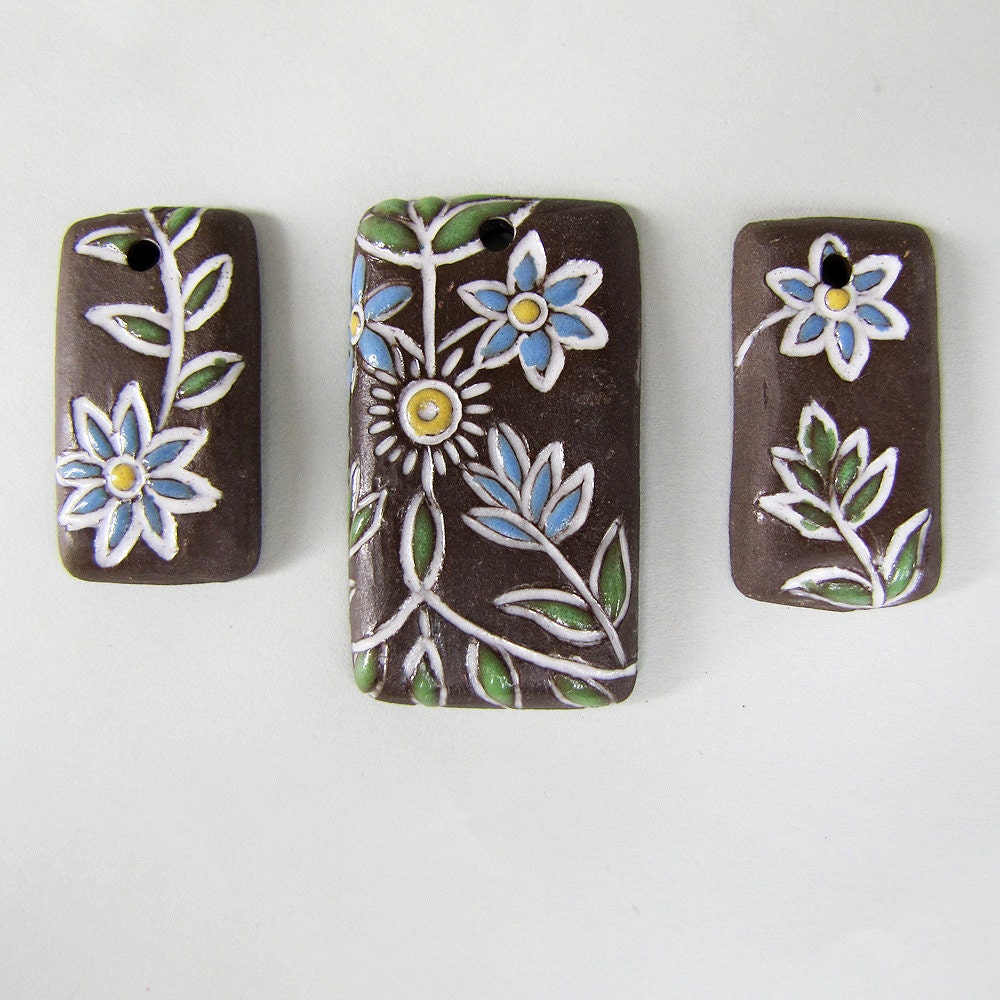
Heart Charms by Mary Harding


4.Then I bend it over the looping mandrel until it touches the other wire and snip it off.


6. If you do not have looping pliers, you can use a skewer quite successfully to wrap your loops around.


8. Now that we have our loops, when do we put them into the clay? The loops go into wet clay. It is important that the clay not be too wet and limp when you try to insert the loop. I usually cut out several pieces and put them on plaster board to dry a bit before I put in the loop. The clay should be firm enough to pick up with your fingers without leaving any impression or distorting the surface texture. On the other end of the scale, you don't want the clay to be leather hard or you will not be able to get the loop in without damaging the clay. So experiment around the degrees of firmness and see what works for you.

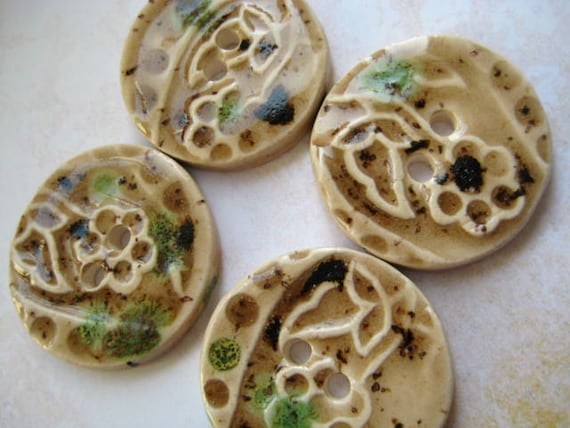
Picture of heart charm with freshly inserted loop.
9. You can see that it requires handling the clay and even squeezing it when you put in the loop. Hence why the clay must dry a bit before doing this. When you are inserting the loop, it may be necessary to move it around or move it over a bit to make sure it is just where you want it. This will leave little holes in the clay that will not just disappear during the firing or glazing, esp with low fire or translucent glazes.

10. I use a nail care stick called an orange stick to clean up around the loop after it is inserted. These are very inexpensive and are found in the cosmetic/nail section of many larger drugstores. They work better than a skewer and I think that is because they are made of a tighter grained wood. Originally they were made from orange trees which has a nice tight, smooth grain. In any case they are great for smoothing over the little holes left from moving the loop around or any other imperfections caused by disrupting the clay when you put it in.

11. Now you are ready to let your pieces dry well and then you can sponge then off and clean up the clay that got onto the loops and even smooth out around them some more.
I hope this Tutorial answered your questions about stringing loops. If you have any other questions please add them to the comment section below and we will gladly answer them. If you have any suggestions for making loops, please add them to the comments as well. We all appreciate you sharing your experience with us.
Posted by MaryHarding
Source List
Beadaholique (looping pliers)
Objects and Elements (heavy duty wire cutters)
Amazon.com (orange sticks for nails)